

GeeLark Quick Start Guide
Download and installation
Please visit the website and click the “Download” button in the upper right corner to download the latest version of the installation package.

On certain Windows versions, you may need to right-click and choose “Run as administrator” for a successful installation.
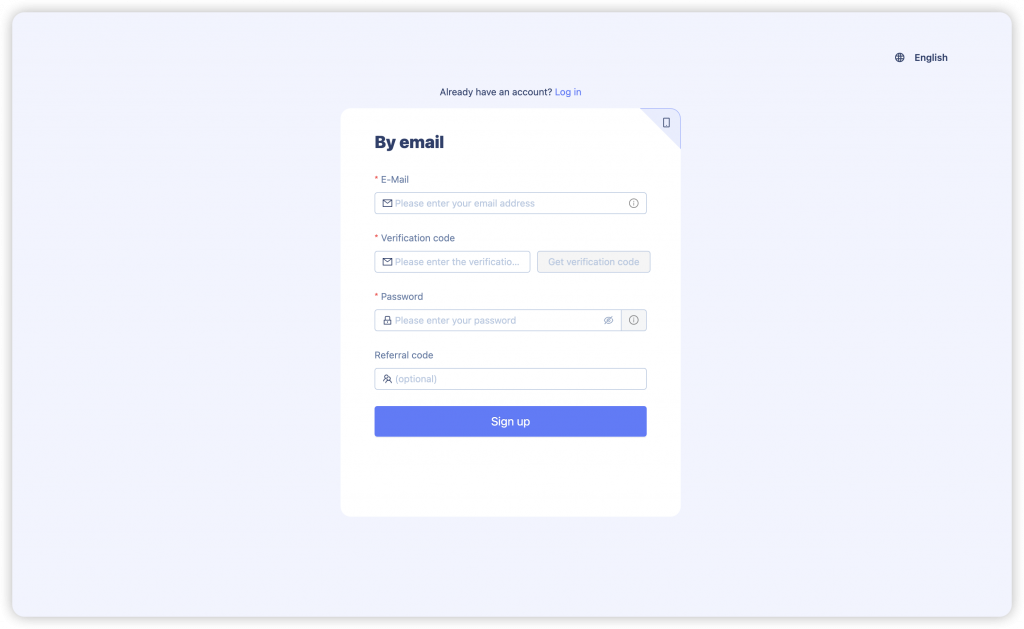
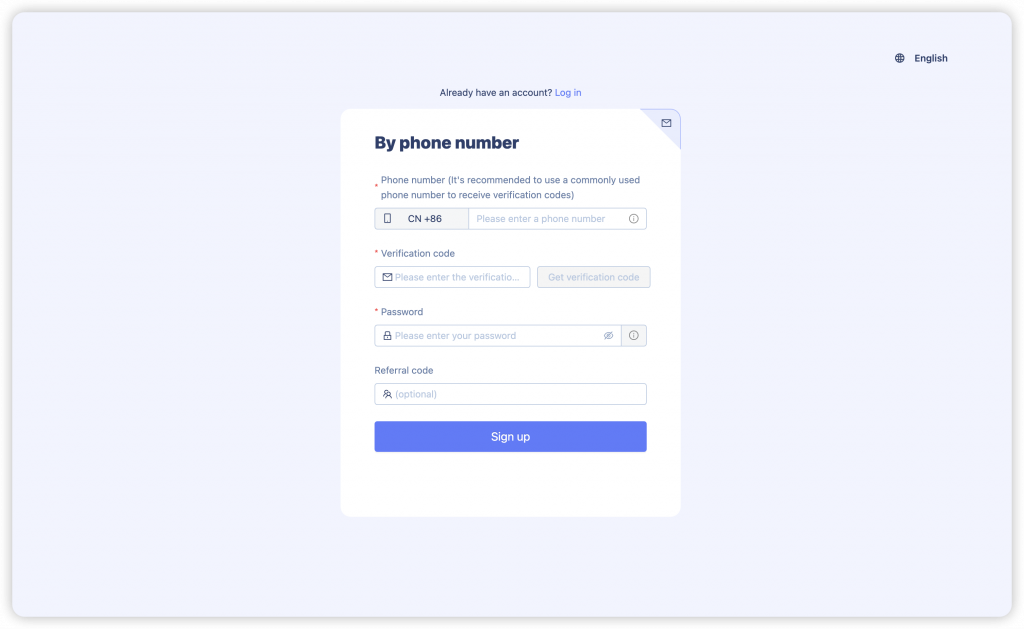
Registration and login
- Registration and login through both mobile phone numbers and email addresses are supported.
📌 For enhanced account security, passwords should include a mix of numbers, uppercase and lowercase letters, and be 8-20 characters long.
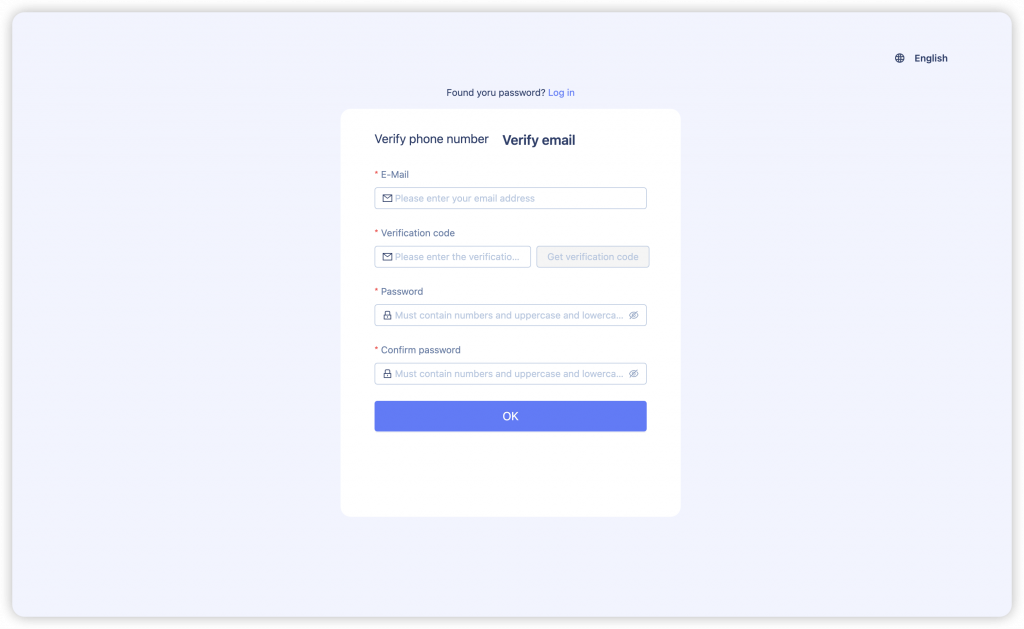
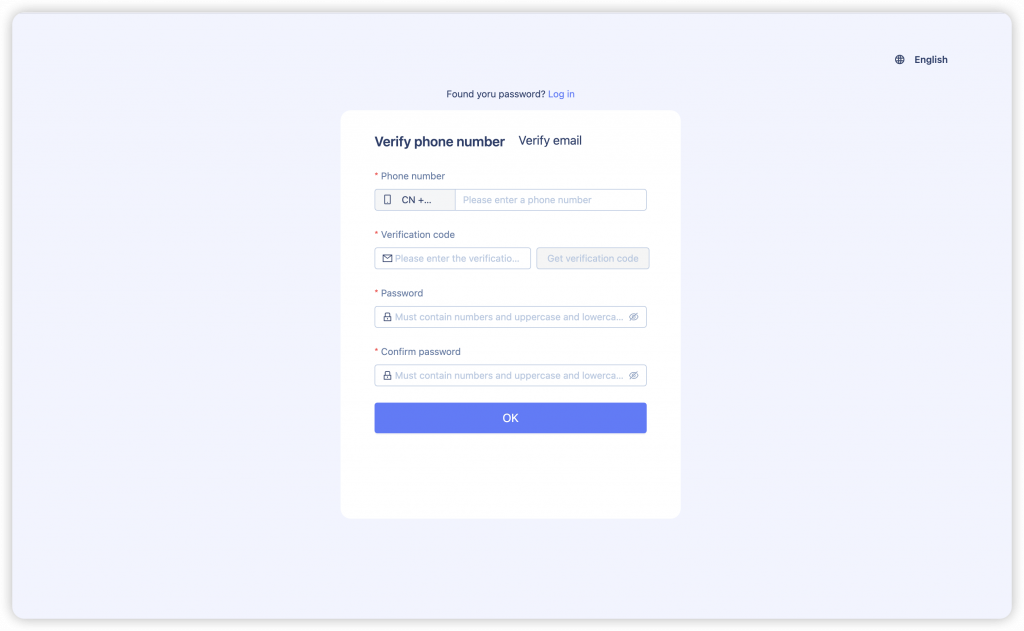
- Password recovery is available, with support for both mobile phone and email verification for secure access.
Features
Beginner’s guide:
Step 1: Add a proxy.
- You can add proxies in batches.
Step 2: Create a new profile.
- Note that the Basic version lacks audio capabilities and camera support, while the Premium version includes sound and supports camera functionalities (such as QR scanning and live streaming).
Step 3: Once the wallet is recharged under “Billing,” you can use the funds to buy cloud mobile phones in the “Devices” section, and if required for TK automation tasks, purchase points in “TK Automation.”
Step 4: The “Members” section allows for the creation of diverse user groups, addition of team members, role assignments, and control over their access to specific profiles and features.
Proxy management
- Head to the Proxies section, click “Add proxy” to add the proxies you need.

You can view the number of profiles linked to each proxy in the proxy list.

📌 The option to delete a proxy is unavailable if it's currently linked to existing profiles.

- For batch proxy additions, utilize the “Proxy Tests” function to check the IP connection and location. Once checked, confirm the additions by selecting “OK”.
When adding batches of proxies, ensure each proxy is entered on a new line, separated by a colon “:”. For example:
Format → Proxy type://Host:Port:Login:Password
Example → socks5://100.200.200.100:30000:AD000004:30000000002

- Within the “Proxy configuration” menu, you have the option to purchase proxies directly from integrated services. Currently, selections include kookeey, IPIDEA, and IPHTML, and we’re working on broadening the range of proxy providers.

- You can also find some of our proxy service partners under the “More resources” menu.

New profile
- To create a functional profile, it’s essential to include proxy information. Both static and rotating proxies are supported and can be configured accordingly. You can create profiles in batches by using “Batch create” feature, which is available for Pro subscriptions.

- Proxies that have been added in the “Proxies” section can be accessed from the “Saved proxies” dropdown menu. Each proxy entry will display the country of the proxy. To its right, you’ll find the number of the profiles linked to that specific proxy.
📌 Configuring an expired proxy in the profile is not supported.


After filling out a new proxy or choosing a saved one, you can click “Check proxy” to check its connection and location.

- Regarding Device information, we offer two types of cloud phones: Advanced and Premium. The default selection is Advanced, but users have the option to manually choose Premium.

Device charges:
- Device charging method: Charges are calculated in 15-minute increments, beginning upon successful boot and ending when the cloud phone is powered off.
- Charges: $0.10 per 15 minutes for Android 12; $0.08 per 15 minutes for Android 9 and Android 10; $0.05 per 15 minutes for Android 11.
- Maximum daily charges per device: $1.00/day for Android 12; $0.80/day for Android 9 and Android 10; $0.50/day for Android 11.
- No charges for non-use.
- The Auto-match function automatically selects the most suitable cloud phone region based on your proxy details. If you opt for “Custom,” you will need to manually specify a country.

Profile management
- In the “Profiles” section, you can filter profiles by group, category, etc. Related device information is displayed for the cloud phone profile.

- When the profile is closed, you can perform editing operations, such as changing the proxy.

When changing the proxy, you can decide how to target the proxy location: it can be based on the IP address or set to a specific longitude and latitude. You can also check the updated proxy by clicking “Check proxy”.

- To reassign profiles to a new group or grant access to other members, simply select the profiles of interest and click on “Move”.


Group management
The Groups section facilitates the management of profiles by categorizing them into groups. It enables you to see the total number of profiles within each group and access their specific details.


You can also create new groups, edit the group name, delete groups, and merge groups.
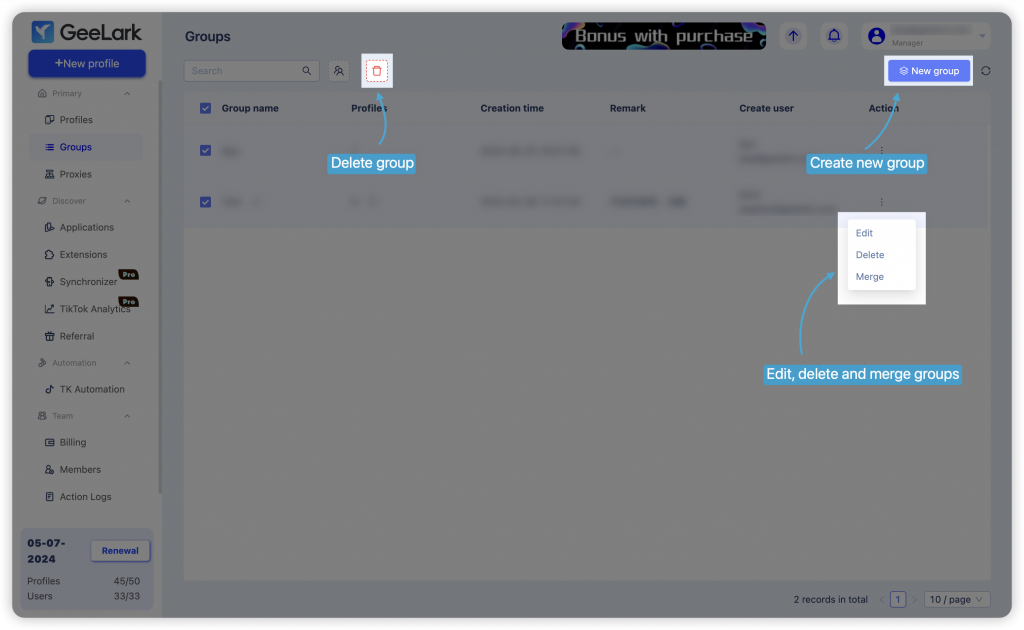
- Batch authorization: Assign groups to members, granting them management access to specific profile clusters.


- Merge groups: Combine selected groups into a single entity. Profiles within the merged group remain accessible to members with prior authorization, and their proxies are unaffected. Following the merge, the original group will be removed.


Billing
The “Billing” section is divided into five key areas:
- Wallet: This includes your balance and bonuses.
- Balance: This is your current account balance. Use the “Recharge” button for balance top-ups.
- Bonus: Bonuses can be used for various deductions at the time of purchase, such as subscriptions, TK automation task points, and cloud phone usage.
📌 Limited-time offer: New users (new super administrators) receive 50 task points and a $1 bonus as a welcome gift.
- Monthly fee: This covers your plan fee, TK automation task points, and other charges.
- “Upgrade plan” button: Available for Free users looking to upgrade their plan.
- “Change plan” button: Allows subscribed users to modify their plan anytime.
- “Renew” button: Use this to extend the duration of your current plan.
📌 You can change your plan at any point during your subscription period, and please note that:
- Your new plan activates immediately after you place the order.
- Low-cost plans are non-refundable.
- To calculate the price difference when changing plans: Remaining days * (new plan fee - old plan fee) / 30.
- Plan information: Usage statistics
- Billing date
- Profile count: Used vs. Included in plan
- Member count: Current members vs. Member seats included in plan
- Daily limits:
- Opens: The number of times you can open profiles within a day
- Free users: Open limit = profiles count * 10
- Base users: Open limit = profiles count * 500
- Pro users: Open limit = profiles count * 1000
- Expired users: Open limit = 20
- Creates: The number of profiles you can create within a day
- Free users: Create limit = profiles count * 10
- Base users: Create limit = profiles count * 10
- Pro users: Create limit = profiles count * 30
- Expired users: Create limit = 20
- Opens: The number of times you can open profiles within a day
- Cloud phones: Statistics on cloud phone usage
- Order details: View specific fee details by date, including wallet recharges, plan fees, cloud phone fees, and points fees.

TK Automation
TK Automation section
- Buy points: To welcome new users, each receives 50 points and $1 bonus to explore the TK automation feature. You can click the “Buy points” button to get more points.
- Task template: Access instructions for using the automation templates by clicking the 🔽 icon. Choose from three TikTok-specific templates: “Publish video,” “Publish image collection,” and “Account warmup.” Click”Start now” to proceed to the “Create task” page.
- Task dashboard: Monitor the status of tasks—whether they’re executing, scheduled for delivery, or have been delivered.

AI video editing
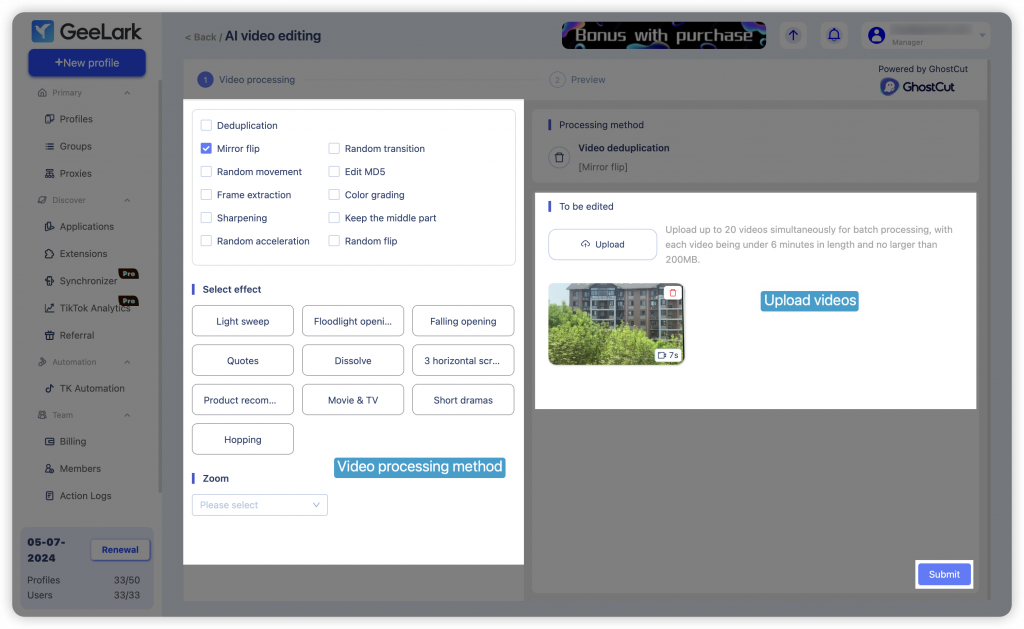
You can use the AI video editing feature to eliminate duplicate content in your videos. Once editing is complete, you will be directed to the “Publish video” task page to finalize and publish your processed video. This AI editing tool is powered by GhostCut.
📌 AI video editing point deduction: 2 points will be deducted for every 30 seconds spent on editing (time under 30 seconds will be rounded up). Deductions only apply to successful edits; no points are lost for processing failures.
- Video editing: Select the editing method on the left and upload your video clips on the right. You can upload up to 20 videos at once for batch editing, with each video being under 6 minutes and no larger than 200MB. Click “Submit” to initiate AI editing in the background, then proceed to the preview and save page.
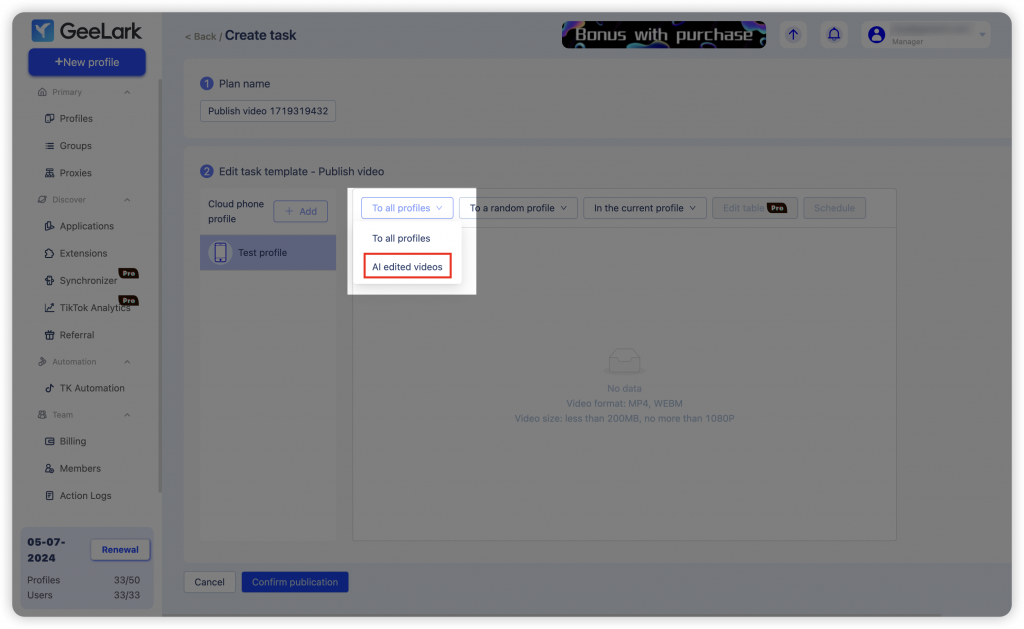
- Preview and save: You can preview and save the processed video. Once done, click “Publish now” to access the “Publish video” task editing page. Here, you can view and select processed videos under “AI edited videos.”
📌 If you force quit while a video is being edited, the process will continue in the background, and points will not be refunded. Edited videos will be available under "AI edited videos." If you choose to go "Back to previous step" to re-edit the video and then click "Submit" again, additional points will be deducted for processing the new task.

Publish video
- Create a new task.
- Step 1: Edit the name of the task plan.
- Step 2: Click the “Add” button to add the cloud phone profile in which the task will be executed.

📌 Notes:
- Execution of a task requires an active login to the platform account within the chosen cloud phone profile. Failure to log in results in unsuccessful task execution.
- Supported TikTok versions for this automation feature are v32.9.2 in Asia, and v32.5.1 in other regions. Installing any versions outside of these specifications will result in the cloud phone's status being labeled as "Error," rendering it unselectable.
- To switch the cloud phone profile for executing a task, click “Add” once more, deselect the previously chosen cloud phone profile, and then confirm the change by clicking “OK”.

- Uploading Videos: You have three options for video uploads: “In all profiles,” “In random profile,” and “In current profile.”
📌 You can upload videos multiple times using different options, and all videos should be in MP4 format.
- To all profiles: This option enables the uploading of identical videos across all selected profiles.

- To random profile: This option allows for videos to be uploaded randomly to one of the selected profiles.

- To current profile: Use this option to upload videos exclusively to the currently active profile.

- Setting the publication time for each video is mandatory. This can be done individually for each video or collectively with the “Schedule” option for all videos at once. Once the video upload and scheduling are complete, finalize the task creation by clicking “Confirm publication” at the page’s bottom.

📌 Tasks can be executed simultaneously on multiple cloud phones, with intervals set between each task on an individual cloud phone.
Execution history
📌 The cloud phone profile undergoing an automation task execution cannot be opened.
After successfully creating a task, its progress can be monitored via the Data dashboard. For detailed information, click on “View execution history” to access the page showing running records.


TikTok analytics
📌 This feature is available in Pro subscriptions.
- Click “Add account” to enter the names of the desired TikTok accounts. The number of accounts you can add corresponds to the number of profiles included in your subscription.

- Once the accounts are added, you will see data from the past 7 days for each account, including metrics such as plays, likes, comments, favorites, and retweets, as well as the number of followers. Please note that this process may take a little time, so your patience is appreciated.
Synchronizer
📌 This feature is available in Pro subscriptions.
- Cloud phone synchronizer
When you perform actions on one cloud phone, they will be synchronized across all other cloud phones simultaneously. Please select cloud phones that are turned off, and it’s recommended to choose the same type of cloud phones for consistency, as different types have varying interfaces.


- Browser profile synchronizer
Actions performed in one browser profile will be synchronized across all other profiles simultaneously. This feature is currently available only on Windows, with a macOS version in development.
Applications
- You can discover apps under “Basic applications” and “Recommended for you.” Find the app you need, and click “Install” to add it to “Team’s applications” for easier management. Then, go to “Team’s applications” and toggle the button next to the app to enable or disable auto-installation. This will ensure the app is automatically installed on all cloud phones, or not installed, based on your preference.


📌 Notes:

- You can remove added apps from “Team’s applications”. To add it again, simply repeat the previous step.
📌 When the app is removed, it will remain on the cloud phones, where it already exists, but will not be installed on new ones.

- Uploading apps: Only APK format files up to 500MB are supported. The Basic cloud phone does not support installing uploaded apps, whereas the Advanced and Premium cloud phones do support this feature.

Member management
Create member groups
- Enter the group name (required).
- Provide a description (required).
- Choose the functional rights to allocate to the member group. All members within the same group will share these rights (required).

Add Members
- Choose the member group you want to expand and click “Add member.”
- Enter the new member’s name.
- Provide the login email for the member’s GeeLark account (it’s required that this email is not already registered with GeeLark, and using a genuine email is recommended).
- Set a password for the account (required; it’s recommended to use a highly secure password).
- Assign a role to the new member – choose from administrator, manager, or member (required).
- Administrator: This role allows for altering function permissions and changing group assignments for members.
- Manager: This role includes the ability to add new members and modify group assignments for members.
- Member: This role does not permit adding users or changing group assignments.
- Authorize the new member for specific groups (required; to grant access to all groups, simply select all).
- Determine the maximum number of profiles the new member is allowed to create (optional; leaving this blank means there is no limit to the profiles, including authorized profiles, that the new member can create).
- Add remarks for the new member (optional).

Change / delete member information and reset password

- You can modify a team member’s name, login email, group, role, and authorized groups.
- Upon resetting a member’s password, the system will automatically generate a more secure password. This new password can then be copied and shared with the said member.
- Member deletion process:
- The removed member will initially be placed in the Trash.
- Permanently deleting the member from the Trash will erase all data completely.


Restore members
- Locate the member you wish to restore in the Trash and select “Edit”.
- Assign a group to the member. At this point, you also have the option to update the member’s name, login email, role, and authorized groups.

Action logs
In this section, you can view login logs, open logs, profile management logs, group management logs, proxy management logs, and tag management logs.
